
Nail art is gaining widespread popularity with all manner of designs and concepts worn these days. You don’t need to be a professional nail artist to master some simple techniques and turn your nails into a work of art.
We asked nail artist Kat Ioujakova from Purely Polished to share her top tips for successfully performing nail art and take us through a step-by-step beginner’s guide to creating a diagonal retro strip manicure.
Top tips for nail art
Use quality products. If you are using inferior quality, the designs will be much harder to paint and look messy.
Start with and practise the basics first. If you can paint a straight line the amount of designs available is endless.
It’s ok to make mistakes. When the polish is dry you can easily go over it and fix it. No need to start all over again.
Break down a design by looking at the shapes. Nail art is much easier by painting in shapes to make up the whole design.
Use a good quality, chip-resistant top coat. Your whole design will last much longer and be less likely to smudge.
Diagonal Retro Strip Manicure Tutorial
Step 1 - Filing
In keeping with the latest nail shape trend, file nails into a more feminine and rounded almond shape. Use soft wooden emery boards to protect the free edges of the nail from damage.


Made of fine wood.
The EMERY BOARDS are particularly recommended for fragile nails: they are supple and have a rough side (grey - 150 grit) and a finer side (purple - 220 grit).
Made in Switzerland 🇨🇭
Step 2 - Buffing
Use a buffer to remover ridges and smooth the nail plate as nail polish adheres better to a smooth surface.

A smoothing and stimulating beauty kit for nails.
Winner of the beautyheaven.com.au 2018 Best in Beauty Award - Best Hand & Foot Tool.
Buffing not only provides an attractive lustre but also stimulates blood circulation at the base of the nail which encourages healthy growth. The NAIL BUFFER KIT contains two pads : the grey pad has a slightly abrasive surface to even out ridges and other irregularities; the pink pad is for polishing.
Made in Switzerland 🇨🇭
Step 3 - Pushing back cuticles
Soften and push back cuticles with the cuticle remover and a manicure stick covered in cotton wool. Neat, healthy cuticles are essential for a polished finish.


Softens and helps remove overgrown cuticles
Damaged cuticles give a neglected appearance to nails and make nice hands look dull.
Its thixotropic formula softens and helps remove overgrown cuticles in one application. Apply directly on cuticles with the brush. In a few seconds overgrown cuticles are softened and can be "erased" with the MANICURE STICK wrapped with cotton.


Made of birch wood.
Wrap the bevelled end of the stick with cotton wool to roll back cuticles and remove dead skin. The other side (arrow shaped) is handy to remove nail polish smudges or clean under the free edge of nails.
Made in the UK 🇬🇧

Eases eye make-up and nail polish removal.
Made of the finest quality, these cotton pads are double sided. One side is more absorbent and designed for use with nail polish remover, the other side is finer and can be used to remove eye contour and facial make-up. 100% extra soft cotton and easy to use. Will not fuzz.
Made in Switzerland 🇨🇭
Step 4 - Base coat
Apply a base coat to the clean nail plate. This important step will protect your manicure and prevent any staining to the nails.


Double action base coat which protects the nail and extends your manicure.
Nail enamels contain coloured pigments that can cause yellowing.
MAVALA 002 formula prevents pigments in nail polish from coming in direct contact with the nail plate, protecting it from yellowing. Its slightly "sticky" formula allows perfect adhesion of your nail polish and extends the life of your manicure.
Step 5 - Background first coat
Apply the first coat of mini color Tunis using quick, long brush strokes to leave a thin first layer. This will form the background of the overall design.

Pic by Ash Quinn
Step 6 - Background second coat
Apply the second coat of mini color Tunis to give the nails full opacity.
Step 7 - Diagonal strip
Draw a diagonal strip with mini color Quito and a striping nail art brush. It’s important to make sure the background is completely dry before starting the strip. Take your time with this step and go slow, as this is the hardest part of the design.

Step 8 - Top left corner
Fill in the top left corner of each nail with mini color Maputo. Use caution here, one coat is enough as you don’t want it to be too thick.
Step 9 - Top coat
Finish your manicure with Mavadry quick drying glossy top coat. Apply lightly to avoid smudging the design.

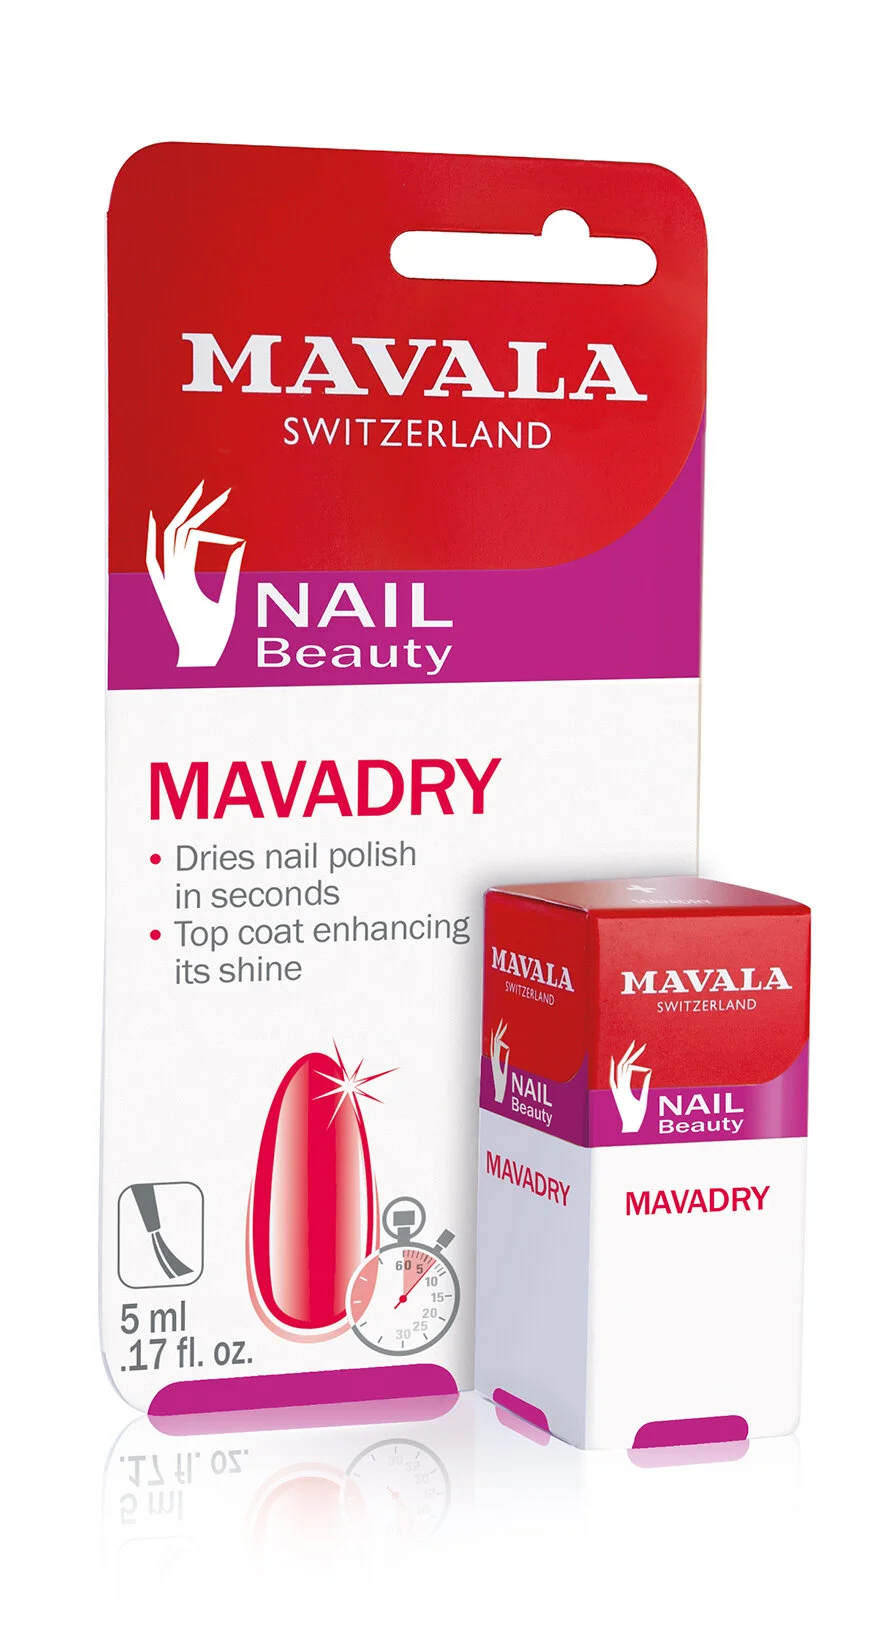
Fast drying nail polish finish. Enhances colour.
MAVADRY dries nail polish in a few seconds and prevents flaking. It enhances nail colour and gives a brilliant sheen. Manicure time-saver.
